Hello, all! I have started a new blog, The How-To Hostess, and will no longer be posting here at Modern Renaissance. I hope you will come visit the shiny new blog for lots of party-riffic ideas, crafts, and recipes, though!
Hugs - Stephanie
Wednesday, July 14, 2010
Friday, July 9, 2010
Fri-DIY Pickling
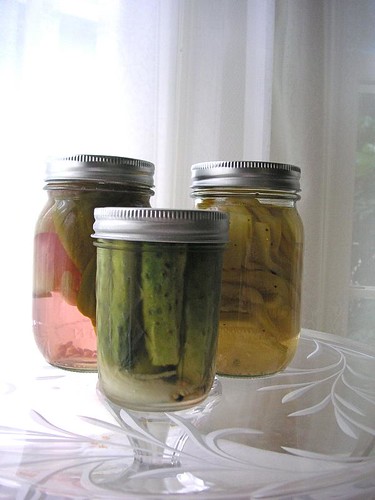
Something a little different for this Fri-DIY... how do you feel about pickles? Me - I love them. I have yet to meet a pickle that I did not enjoy, and that includes eggs and pigs feet. I am a self-professed vinegar junkie so pickling is right up my alley.
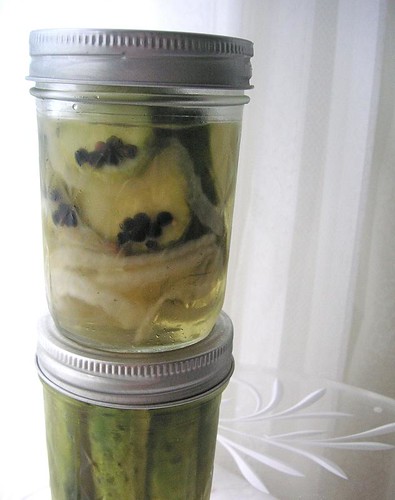
I taught a class a few weeks ago about how to make simple vegetable pickles and wrote out an instruction pamphlet for everyone. I've posted the pages up on Flickr so you can download them and get to pickling, too! There are 2 recipes, one for sweet refrigerator pickles and one for sour shelf-stable pickles. If you try one out and get stuck, just drop me an email and I'll be glad to help you out.

When you add the magic of preserving in a boiling-water bath, the reward of shelf-stable homemade pickles all year entices me to make a batch nearly every weekend all summer long. I am a self-taught pickler, I alas did not have the guidance of a mom or grandma to raise me in the pickling tradition. However, the process is not difficult and can be mastered easily as long as you can chop some vegetables and follow instructions.
I taught a class a few weeks ago about how to make simple vegetable pickles and wrote out an instruction pamphlet for everyone. I've posted the pages up on Flickr so you can download them and get to pickling, too! There are 2 recipes, one for sweet refrigerator pickles and one for sour shelf-stable pickles. If you try one out and get stuck, just drop me an email and I'll be glad to help you out.
Thursday, July 8, 2010
I like you - Tomatoes
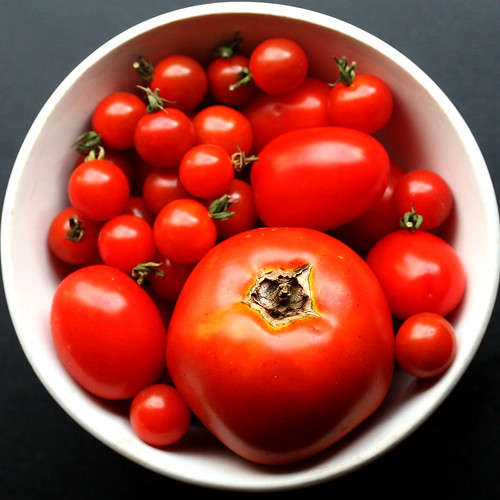
It's summer and the living is easy. Especially if you are a tomato lover. That sounds like a strange title, but I am a born and raised tomato lover and I am not ashamed. I am also a tomato snob. I won't eat one unless I can look in the eyes of the person who grew it. For me, that's my 'Mater Man' (that's his name, it's legit, he has a hat with it cross-stitched!) at my local farmer's market, my grandfather, and my friend Megan. That means I only eat them when they are in season, but I certainly make the most of that short time. My two most all-time favorite ways to eat tomatoes are fresh slices of perfectly ride tomato on wheat toast with Duke's mayo or green tomatoes dusted with cornmeal and fried in bacon fat. Summertime food heaven!
Friday, July 2, 2010
Fri-DIY - Tissue Paper Flowers
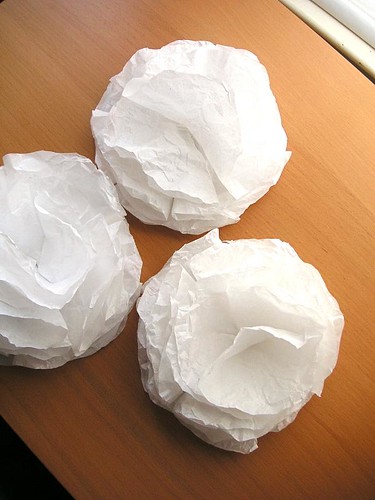
I am in the midst of planning an engagement party for some very dear friends. As such, I have been happily sequestered in my craft room for many hours working on decorations, invitations, and plans in general. These are some flowers I created that will be gracing the entry walls en masse the evening of the party.
The flowers are super quick to make, about 5 minutes per flower, and don't require any special crafting tools. What you do need is:
Tissue paper in the color of your choice
Scissors
Hot glue gun
The flowers are super quick to make, about 5 minutes per flower, and don't require any special crafting tools. What you do need is:
Tissue paper in the color of your choice
Scissors
Hot glue gun

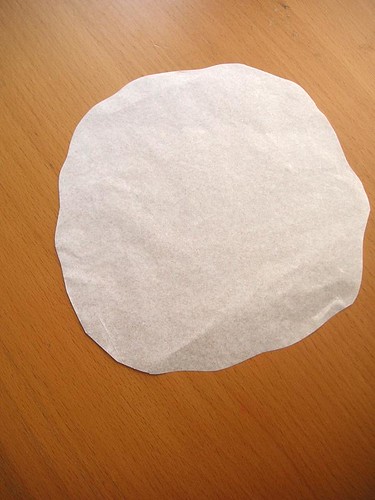
Cut out 6 inch circles from the tissue, scalloping the edges slightly as you cut. You will need 11 circles per flower.
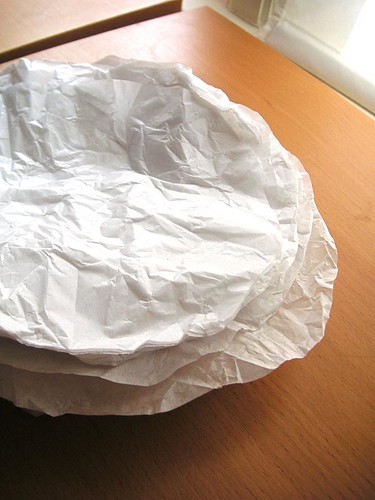

Once you've got a nice stack, crumple them all up and gently smooth back out. This step is important so the flowers have some nice volume and texture and don't end up looking flat.
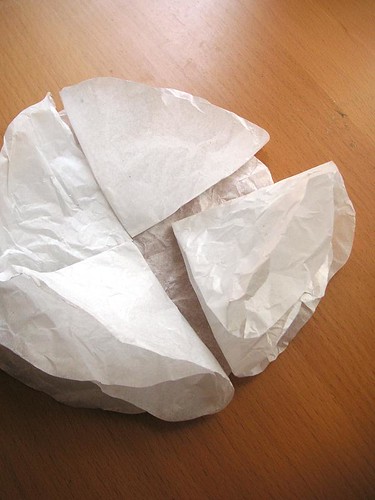

Heat up the hot glue gun. Lay one circle flat on your work space. Fold another circle in half, then in half again to make a wedge shape. Put a dab of hot glue at the point end of the wedge and glue to the flat circle. Repeat with 3 more circles to make the first layer.
Then do it again with 4 more circles but glue so they overlap the spaces between the wedges of the first layer.
Finally, take 2 more circles. Fold each in half, add a dab of glue at the middle of the fold and glue each to the flower. All done!
Then do it again with 4 more circles but glue so they overlap the spaces between the wedges of the first layer.
Finally, take 2 more circles. Fold each in half, add a dab of glue at the middle of the fold and glue each to the flower. All done!
Labels:
DIY,
entertaining,
holidays,
home style,
parties,
tutorials
Subscribe to:
Comments (Atom)


