Showing posts with label parties. Show all posts

Friday, July 2, 2010

Fri-DIY - Tissue Paper Flowers

Tissue Paper Flowers

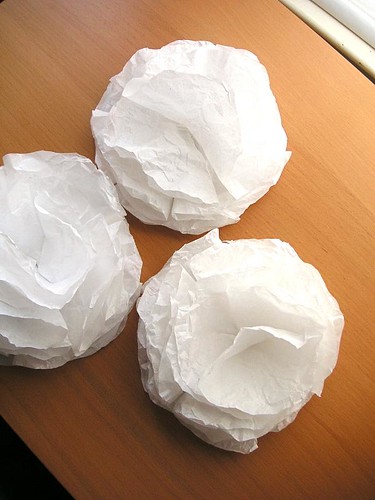
I am in the midst of planning an engagement party for some very dear friends. As such, I have been happily sequestered in my craft room for many hours working on decorations, invitations, and plans in general. These are some flowers I created that will be gracing the entry walls en masse the evening of the party.

The flowers are super quick to make, about 5 minutes per flower, and don't require any special crafting tools. What you do need is:

Tissue paper in the color of your choice
Scissors
Hot glue gun
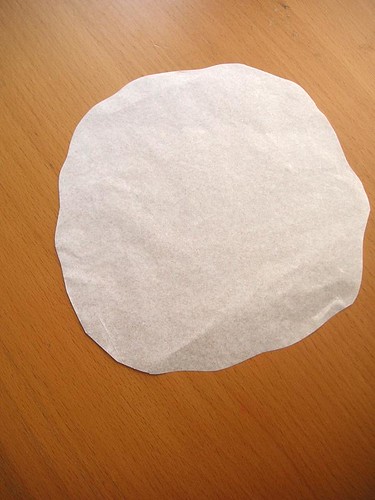
Tissue Paper Flowers

Cut out 6 inch circles from the tissue, scalloping the edges slightly as you cut. You will need 11 circles per flower.
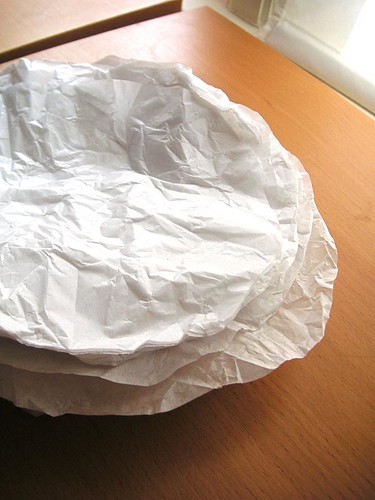
Tissue Paper Flowers

Once you've got a nice stack, crumple them all up and gently smooth back out. This step is important so the flowers have some nice volume and texture and don't end up looking flat.
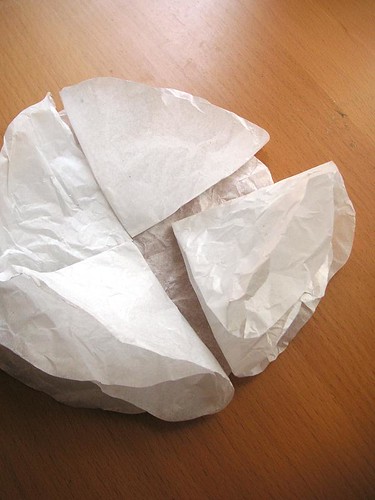
Tissue Paper Flowers

Heat up the hot glue gun. Lay one circle flat on your work space. Fold another circle in half, then in half again to make a wedge shape. Put a dab of hot glue at the point end of the wedge and glue to the flat circle. Repeat with 3 more circles to make the first layer.

Then do it again with 4 more circles but glue so they overlap the spaces between the wedges of the first layer.

Finally, take 2 more circles. Fold each in half, add a dab of glue at the middle of the fold and glue each to the flower. All done!

Tissue Paper Flowers

Along with party wall decorations, I have also used these to finish off a wrapped gift and as napkin holders for parties. I am sure you can come up with many more uses for them, too!

Friday, March 5, 2010

Fri-DIY Pleated Flower Wall from RUCHE

We already know I love Ruche, so how awesome is it that they post some stunning DIY projects on their blog? The wall of flowers is incredibly awesome, relatively cheap, slightly labor intensive, but not in an off-putting way. More in a 'cannot wait to host another bridal shower and make these en masse' way.

Wednesday, February 10, 2010

Parties - Book Club Party

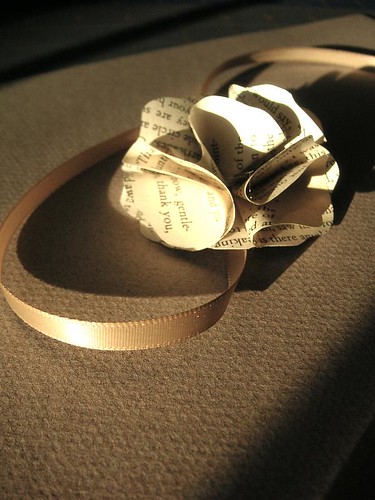
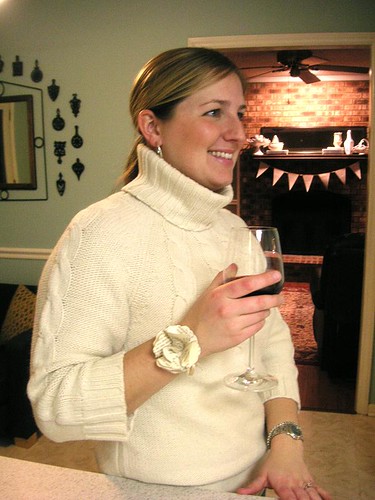
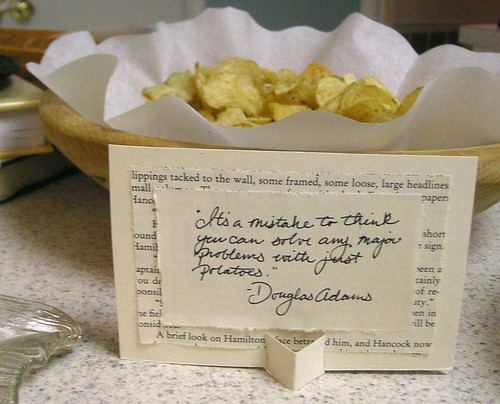
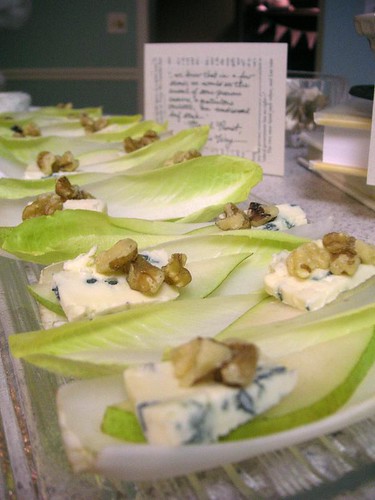
Book Club Party Crafts

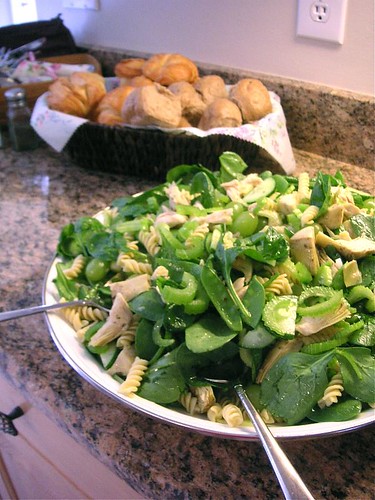
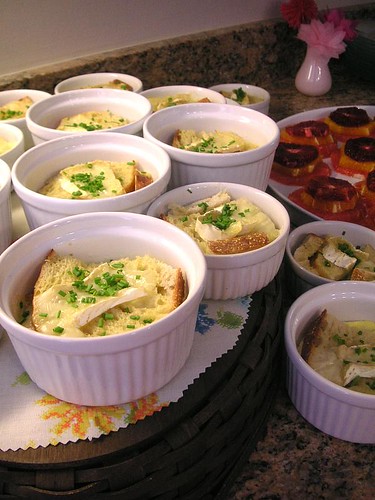
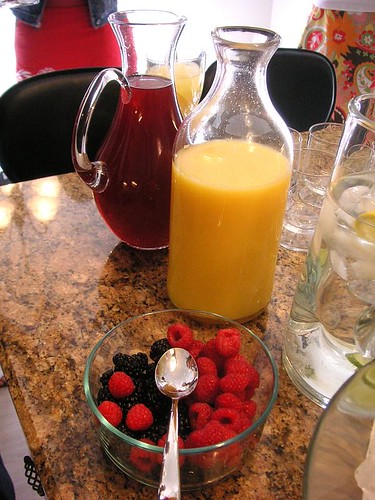
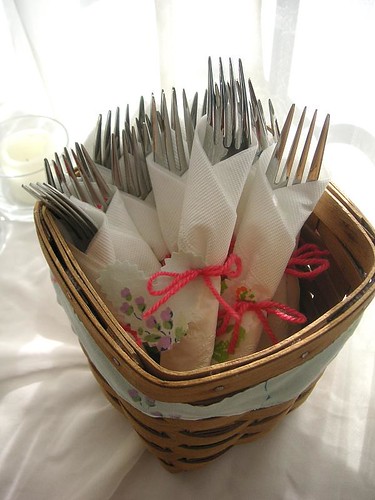
Just a few pics from the book club party I hosted last weekend. Lots of food, fun, and literary conversation (and crafts!) had by all.

Book Club Party

Book Club Party

Book Club Party

Book Club Party

Tuesday, August 4, 2009

How To - Girly Coozies

Day 196

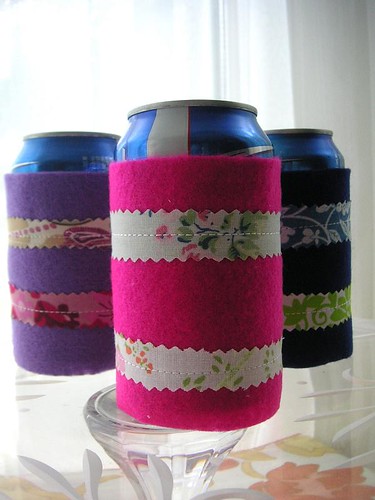
I have a new friend who recently complained that I hadn't made something for her yet. BUT things have been busy, so I couldn't launch into a huge project. I came up with these cute felt coozies as a super quick solution. They don't have bottoms to them, but we didn't have a problem with the cans slipping through when gave them a test run.

Materials needed:
8.5" x 11" pieces of felt, assorted colors
fabric scraps
rotary cutter
pinking shears
sewing machine
thread

Cut the felt into strips 8.5" x 4" using the rotary cutter. Cut the fabric scraps into strips 3/4" x 8.5" using the pinking shears. Layout 2 fabric scrap strips on to the felt and sew down. Fold the felt strip in half with the fabric strips facing in. Sew together with 1/2" seam. Flip coozie right side out and enjoy a frosty beverage!


Saturday, July 18, 2009

How To - Fabric Garlands


I have long loved all things garland. Nothing says special occasion better than some pretty fabric or paper hanging from above, swaying gently. As an added bonus, garlands, banners, bunting, whatever you call it, packs a lot of decorative punch for relatively little DIY time and effort. There are lots of great tutorials out there. Here are a few simple ones to get started.


While this tutorial from craftstylish is technically for a mobile, it could easily be adapted to make a garland instead. Try one out for your next party, or make a pretty one for a new baby's nursery. Or just for yourself!

Tuesday, May 12, 2009

Home Style - Homegrown Flowers

Day 128

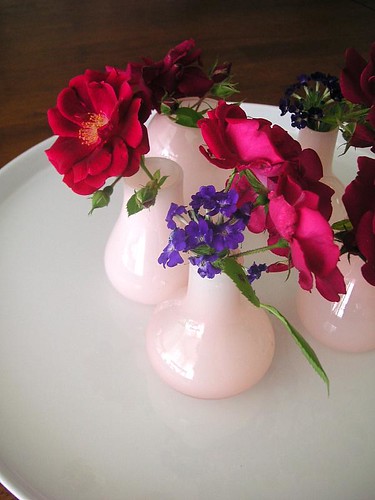
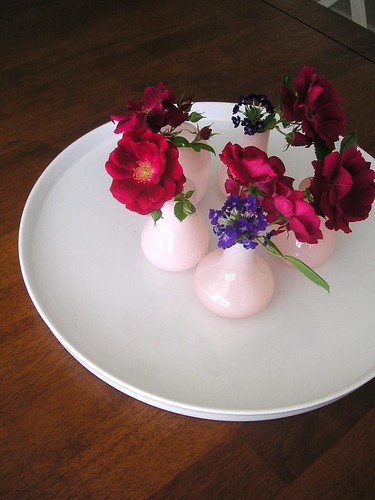
Spring is in full swing (couldn't resist) in my garden. Even though I have a black thumb and have tried to kill the roses in my garden, they come back even better every year.

PICT0018

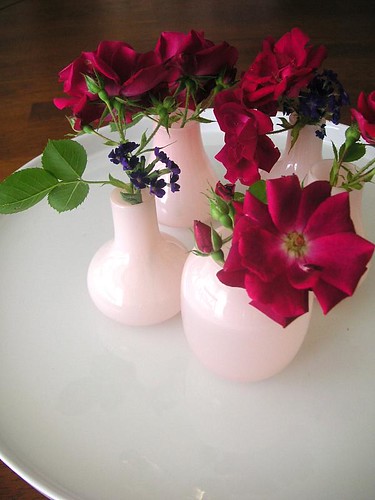
I snipped a few this past weekend and made a quick centerpiece for mother's day dinner for my sister. I love these little pink vases I originally bought for this party and I love them even more grouped together. A grouping of tiny vases is a handy trick. The small vases keep the flowers upright and you only need a few blooms in each for a lush looking arrangement.

PICT0020

Sunday, April 26, 2009

Parties - Pink and White Bridal Shower

Momo's Shower

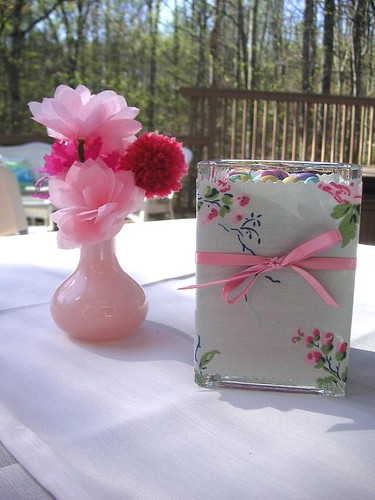
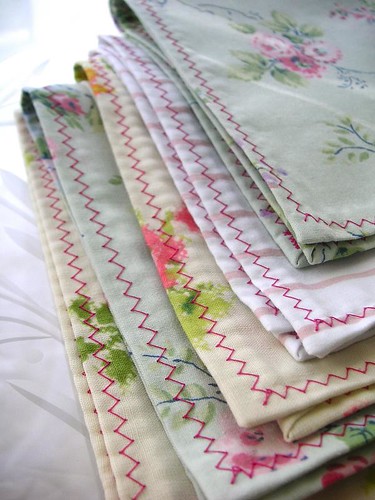
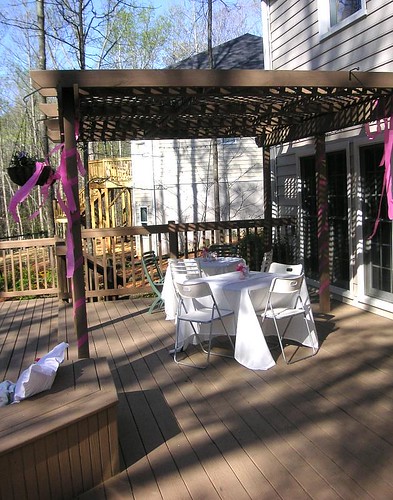
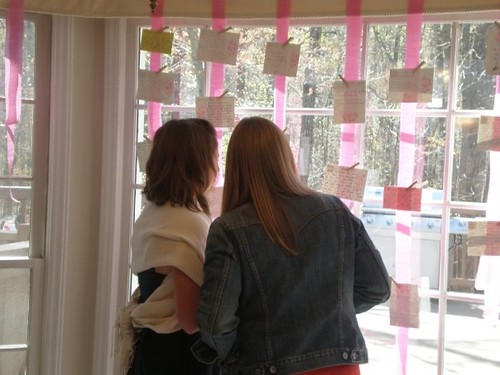
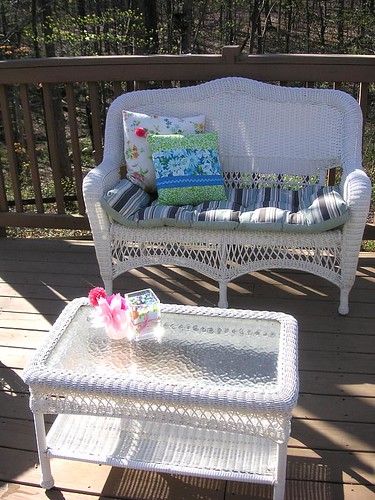
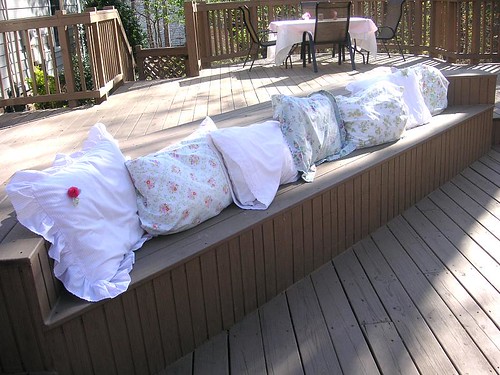
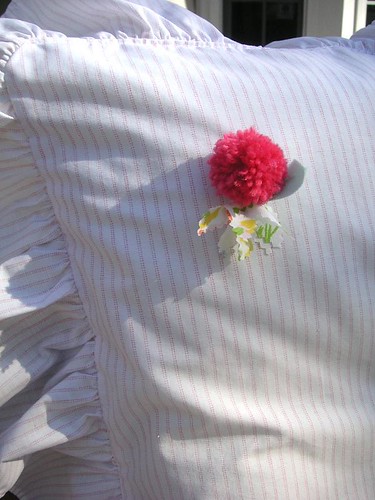
Here are some pics from the bridal shower I hosted for my wonderful friend. All she said was she wanted something 'girly.' The main inspiration came from my vintage linen collection - florals, pinks, and very girly. I re-purposed the linens into cloth napkins, wraps for vases, basket liners, pillows, and some fabric flowers. Other DIY projects included tissue paper flowers (the bride-to-be is allergic to most real flowers), the invitations, and the hanging advice cards. We had the most perfect spring day for the shower and it was truly a pleasure to host for my friend.

Day 39

Momo's Shower

Momo's Shower

Momo's Shower

Momo's Shower

Momo's Shower

Momo's Shower

Momo's Shower

Momo's Shower

Momo's Shower

Momo's Shower


Friday, March 20, 2009

How To - Everlasting Flowers


It's officially spring time, and in my little part of the world, everything is blooming! Lovely, but it makes me sad that they last only a short time. Luckily, there are numerous great tutorials for making blooms that will never wilt or die. Above is from the very fun domestifluff.

Of course Martha has her own marvelous ideas.


The lovely ladies at Vintage Glam Weddings have great instructions to make a pomander, which was from Martha, too, but has since been removed from her website.


Once Wed's always fabulous DIY section hit gold with these adorable fabric flowers. (You can see my attempt here.)


And last but not least, this cute topiary aptly named 'felt fabulousness on a stick' comes from lollychops!


Saturday, January 10, 2009

Parties - After Holiday-Holiday Party

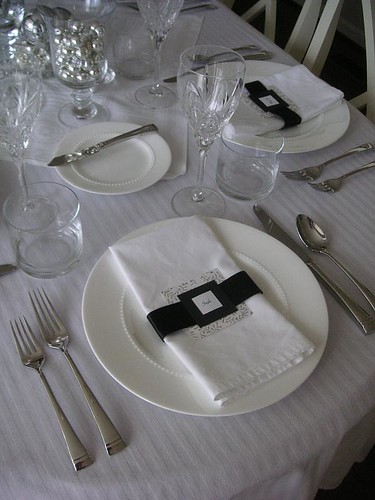
Black, white, silver table setting

My local group of good friends normally has our own holiday celebration each year. This year, though, we couldn't make it happen before New Year's. So last Saturday, I hosted our 'After Holiday - Holiday Party.' I wanted to beef up my skills by doing a real sit-down 4 course supper, so I strong-armed them into agreeing to be my guinea pigs. I also used it as an excuse to use my pretty china and crystal.

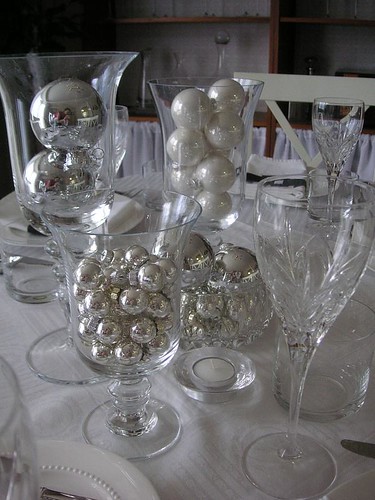
Black, white, silver table setting

I chose a white, black, and silver theme for the table. I pulled together some ornaments that hadn't made it back to storage yet and filled up a few glass pieces with them for an easy centerpiece. I also tossed a few votive candles around for good measure.

Black, white, silver table setting

Some ribbon and paper scraps joined together made a quick napkin ring that doubled as a seating place card.

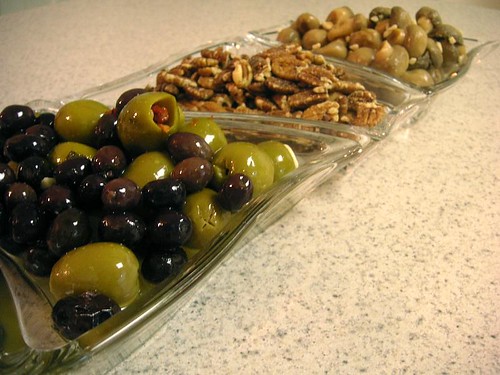
Olives. pecans, mushrooms

I set out olives, nuts, and marinated mushrooms to snack on while we waited for everyone to arrive and I finished up the last items for supper.

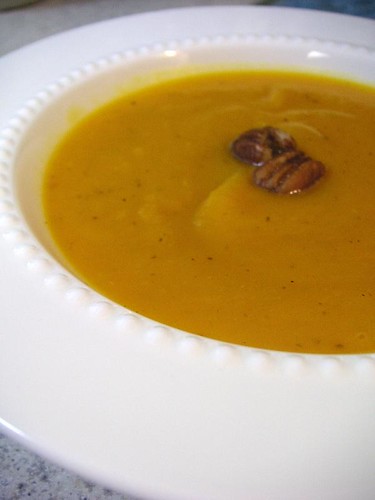
Butternut squash soup

I started the meal with a creamy butternut squash soup. I love it's pretty color, and with the help of an immersion blender, it could not be easier to make. I tossed a few roasted pecans on top for garnish.

Chopped salad

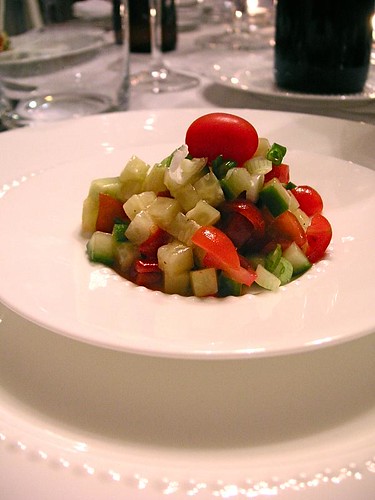
The second course was a simple chopped vegetable salad dressed with just a little oil and vinegar. The main course was a leg of lamb roasted with fennel butter and a red wine sauce. I also made individual portions of goat cheese potatoes au gratin in ramekins. However, it was all so good, that by the time I remembered I need to take a picture, this was all that was left!

Day 3

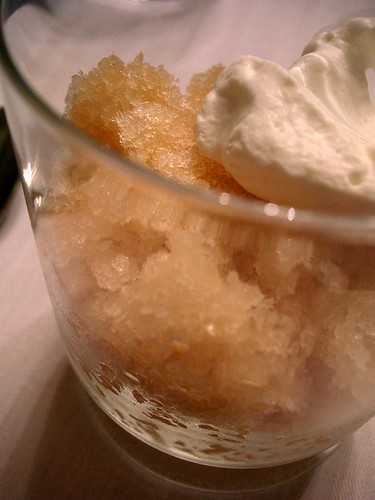
Most of my guests are not big on sweets, so I kept it simple for dessert with an apple cider granita and homemade whipped cream. I had also planned on a cheese course, but we were all so stuffed that we agreed to pass on the cheese, which nearly never happens! We ended the evening by burning off some of the calories from dinner with a competetive Wii bowling tournament.

Tuesday, December 30, 2008

Parties - Last Minute New Year's Eve Party


Epicurious has a VERY in depth cocktail party guide up. Frankly, I find it pretty intimidating and misleading. Throwing a party shouldn't be THAT hard. Mix some drinks, invite a few amusing people, and serve them some food. This is not rocket science. So, if you don't feel like braving the bar scene tomorrow evening to celebrate the New Year, here is my guide for a fun, easy, last minute New Year's Eve cocktail party. You can download a shopping list based on 10 guests here and a pre-party time line here.

Let's start with the cocktails. Nothing says New Year's Eve like champagne, so how about a champagne cocktail bar. Put out the champagne with some peach puree for Bellinis, orange juice for mimosas, and cranberry juice. I don't know if the cranberry and champagne combo has a name, I just call it tasty. You can substitute any sparkling wine you like for the champagne, try cava from Spain or prosecco from Italy.

For the non-champagne drinkers, pick up some beer, a lager and a dark beer, and a few bottles of wine.

Moving on to decor. Go to any local hardware or grocery store and buy up the leftover poinsettias en masse. They'll be super cheap now that Christmas has passed, and you can give them one last hurrah. Group them around the house in visible areas, and throw one in the bathroom if there is space.
While you are at the grocery store, pick up some pretty Christmas paper plates and napkins in a white theme. Again, they should be marked waayy down.
If you have time, run some of those pretty twinkly Christmas lights around the house.

Cocktail party nibbles can be as simple or complicated as the host chooses to make them. For a last minute party, it's best to keep it simple. Some nuts and olives, a cheese board, simple veggies and dip, and mini sandwiches will fill your guests up and allow easy prep before they arrive.


So, if you feel the itch to host, try out this simple party. Once you've thrown a great basic bash, you'll feel empowered to plan something bigger and better next time!

Tuesday, November 18, 2008

Parties - The Bar Cart


I love the idea of having a bar station out during a party so guests can help themselves. It's sets a retro laid-back vibe for a party. No need to put out anything too fancy, just enough for a couple of classic cocktails that guests can make just to their liking. We had one out at our last party, and it just had the staples on it - gin, vodka, bourbon, tequila, orange and tomato juice, cola, ginger ale, tonic water, lemons and limes. And ice. Lots and lots of ice. A whole party on a cart. Domino has a great slide show up right now with some nicely styled carts to get those ideas flowing.


All images from Domino