
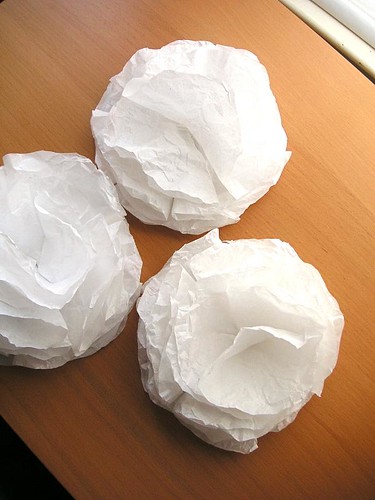
I am in the midst of planning an engagement party for some very dear friends. As such, I have been happily sequestered in my craft room for many hours working on decorations, invitations, and plans in general. These are some flowers I created that will be gracing the entry walls en masse the evening of the party.
The flowers are super quick to make, about 5 minutes per flower, and don't require any special crafting tools. What you do need is:
Tissue paper in the color of your choice
Scissors
Hot glue gun
The flowers are super quick to make, about 5 minutes per flower, and don't require any special crafting tools. What you do need is:
Tissue paper in the color of your choice
Scissors
Hot glue gun
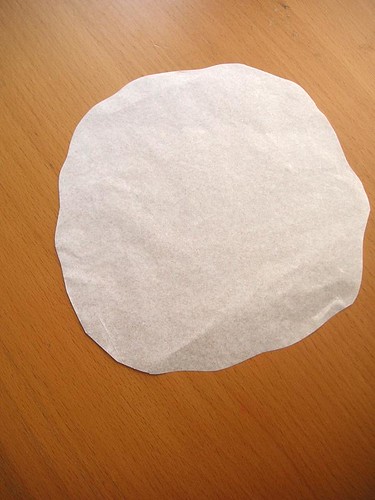
Cut out 6 inch circles from the tissue, scalloping the edges slightly as you cut. You will need 11 circles per flower.
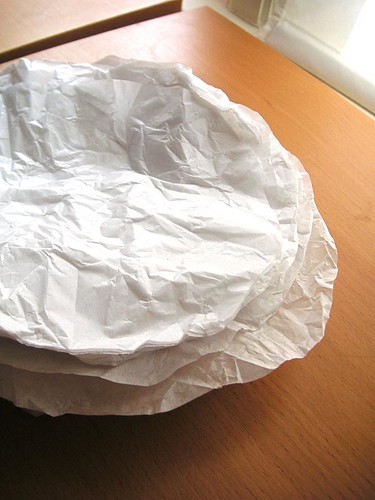
Once you've got a nice stack, crumple them all up and gently smooth back out. This step is important so the flowers have some nice volume and texture and don't end up looking flat.
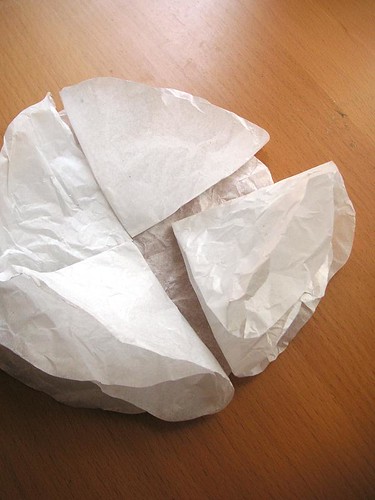
Heat up the hot glue gun. Lay one circle flat on your work space. Fold another circle in half, then in half again to make a wedge shape. Put a dab of hot glue at the point end of the wedge and glue to the flat circle. Repeat with 3 more circles to make the first layer.
Then do it again with 4 more circles but glue so they overlap the spaces between the wedges of the first layer.
Finally, take 2 more circles. Fold each in half, add a dab of glue at the middle of the fold and glue each to the flower. All done!

Then do it again with 4 more circles but glue so they overlap the spaces between the wedges of the first layer.
Finally, take 2 more circles. Fold each in half, add a dab of glue at the middle of the fold and glue each to the flower. All done!
Along with party wall decorations, I have also used these to finish off a wrapped gift and as napkin holders for parties. I am sure you can come up with many more uses for them, too!
No comments:
Post a Comment